
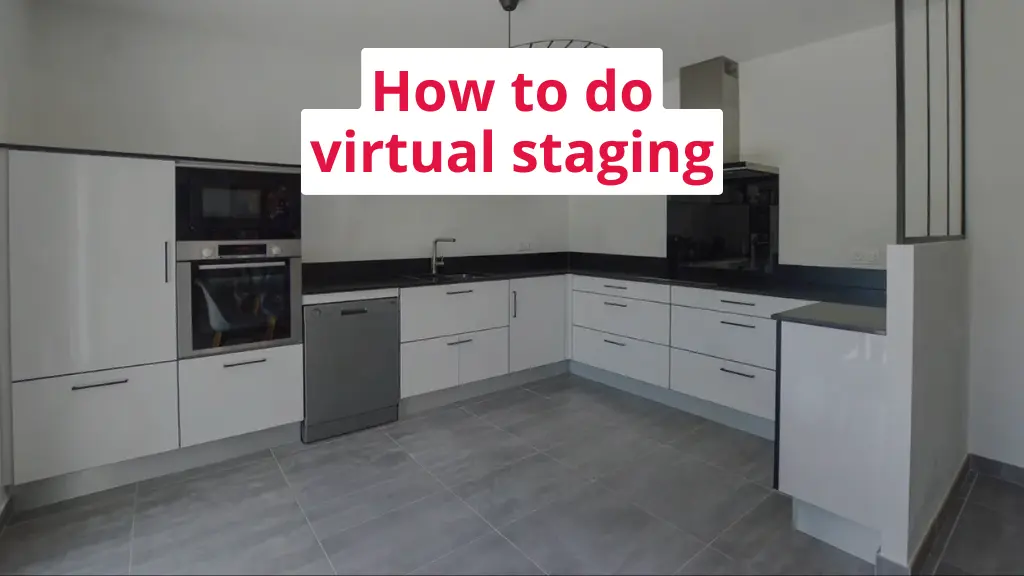
Empty rooms are hard to sell. When buyers look at listings online, they struggle to picture themselves living in a blank space. That’s where virtual staging comes in.
Virtual staging means adding furniture and decor to photos digitally. Instead of hauling real furniture into an empty house, you upload photos and software does the work. The result? Rooms that look lived-in and inviting, without the hassle or cost of traditional staging.
Let me walk you through how to do it yourself.
Step 1: Get your space ready
Before you even touch a camera, you need to prep the room.
Start by clearing everything out. Yes, everything. Remove any furniture that’s already there, personal items, clutter on counters, random decorations. If you’re working with an empty space, you’re already ahead.
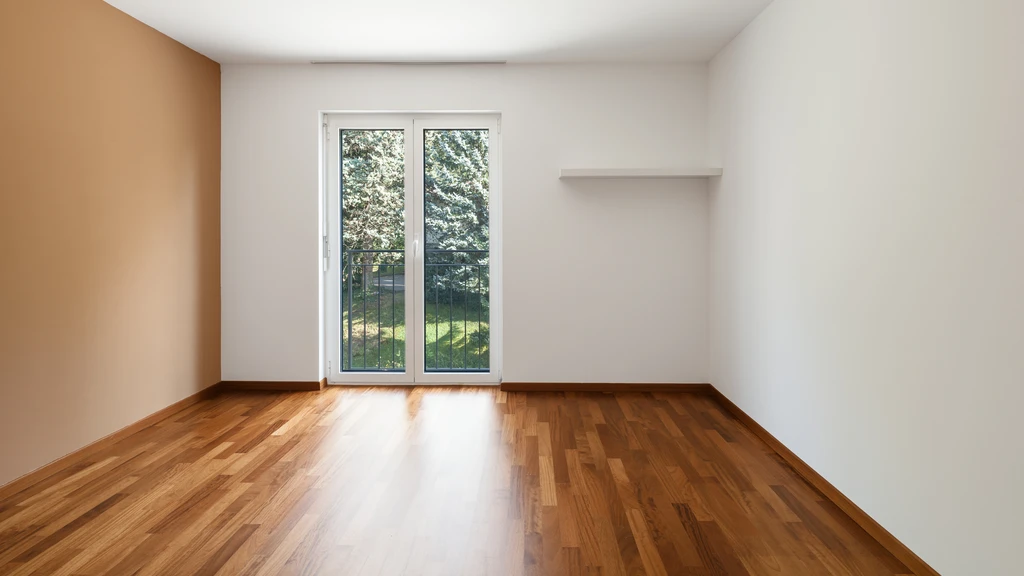
original photo empty room
Next, clean like someone’s about to walk through. Wipe down windows, sweep floors, dust surfaces. Close toilet lids. Make sure cabinet doors are shut all the way.
Check your lighting too. Open curtains to let natural light flood in. Turn on all the lights and make sure they’re working. If some bulbs look yellow and others look white, replace them so they match.
Turn off ceiling fans before you shoot. They look blurry in photos.
Step 2: Take quality photos
Your photos make or break virtual staging. Bad photos mean bad results, even with the best software.
Here’s what you need to know:
- Use a decent camera. Your phone can work if it’s newer, but a DSLR with a wide-angle lens works best. You want to capture the whole room in one shot.
- Get the angle right. Stand in the doorway or corner of the room. Shoot from about chest height. You want to show the space clearly, not make it look distorted.
- Light it properly. Natural light is your friend. Shoot during the day when sunlight comes through the windows. Turn on overhead lights and lamps to fill in any dark corners.
- Take multiple angles. Don’t just shoot one photo and call it done. Take pictures from different spots in the room. Buyers want to see the space from various perspectives.
- Keep it steady. Blurry photos won’t work. Use a tripod if you have one, or at least brace yourself against something solid.
The better your starting photo, the better your staged result will be.
→ Real estate photography tips to boost listings
Step 3: Choose your virtual staging tool
Now for the actual staging part. You need software or a service to add furniture to your photos.
There are two main options:
- Do-it-yourself AI tools let you upload photos and choose furniture styles yourself. Tools like IACrea work this way. You upload your image, pick what style you want (modern, minimalist, traditional), and the AI adds furniture in about 20 seconds. It’s fast, affordable, and you can do it right away without waiting for designers.
- Professional services connect you with actual designers who stage your photos for you. You upload images, tell them what you want, and they send back staged photos within a day or two. This costs more but gives you more control over the exact look.
For most people, AI tools are the way to go. They’re cheaper and faster, and the quality has gotten really good.
IACrea example:
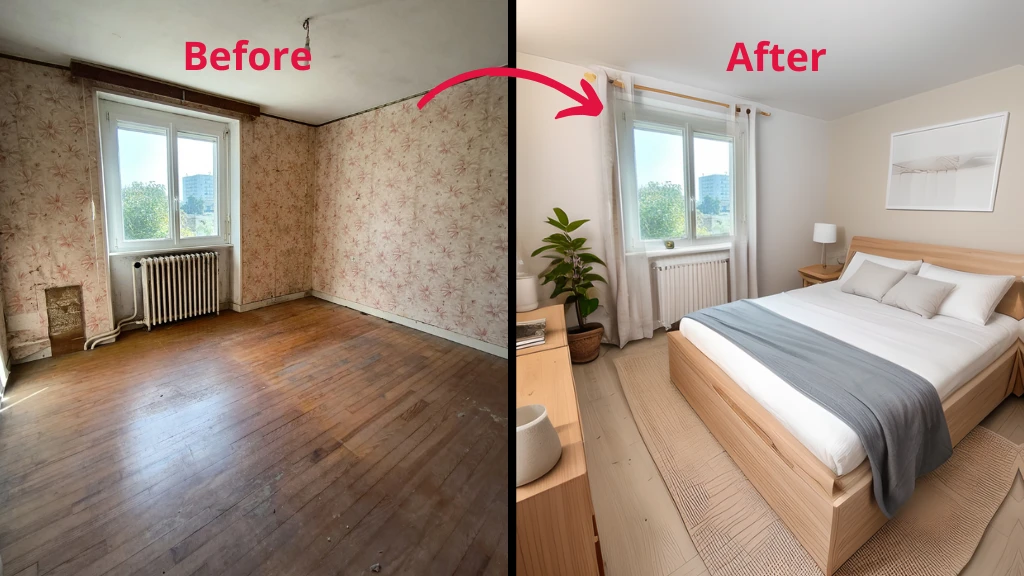
Empty real estate to furnished
Step 4: Upload and customize
Once you’ve picked your tool, the process is pretty straightforward.
- Upload your photos. Just drag and drop them into the platform.
- Pick the room type. Tell the software what kind of room it is. Living room, bedroom, kitchen, whatever. This helps it add appropriate furniture.
- Choose a style. Most tools offer different design styles. Modern, contemporary, traditional, farmhouse, minimalist. Pick whatever matches the property and appeals to your target buyers.
- Add any special instructions. Some platforms let you request specific things. Want a home office instead of a guest bedroom? Mention it.
- Hit submit
With AI tools like IACrea, you’ll get results in under a minute. With professional services, expect to wait several hours to a day.
Step 5: Review and adjust
When you get your staged photos back, look them over carefully.
Does the furniture look natural and realistic? Is it the right scale for the room? Does the style match what buyers in your area expect?
If something looks off, most platforms let you request changes. Maybe the couch is too big, or the color palette doesn’t work. Get it right before you use the photos in your listing.
Some tools let you try different variations too. You might stage the same room as both a bedroom and a home office to see which works better.
Property photo with IACrea
Step 6: Use your staged photos
Now comes the payoff. Take your staged photos and put them to work.
Upload them to your property listings on real estate websites. Post them on social media. Include them in email marketing. Use them in print flyers.
Just remember one important thing: always disclose that the photos are virtually staged. Add a caption like “This photo has been virtually staged” on the image or in the description. Some areas legally require this, but even if yours doesn’t, it’s the right thing to do. You don’t want buyers feeling misled.
Consider showing before-and-after images side by side. This can actually work in your favor because it shows the transformation and makes the staging more sharable on social media.
Why this works
Virtual staging isn’t just about making rooms look pretty. It helps buyers visualize the space as their future home. Most people can’t picture how an empty room could look when furnished. Virtual staging does that work for them.
The numbers back this up. Properties with virtual staging tend to sell faster than empty listings. They also get more views online and generate more interest from potential buyers.
Plus, virtual staging costs a fraction of traditional staging. Physical staging can run thousands of dollars and takes days or weeks to set up. Virtual staging can cost as little as a few dollars per photo and be done in minutes.
Common mistakes to avoid
Don’t over-stage. Keep it simple and realistic. You’re not decorating a magazine spread. You’re helping buyers see potential.
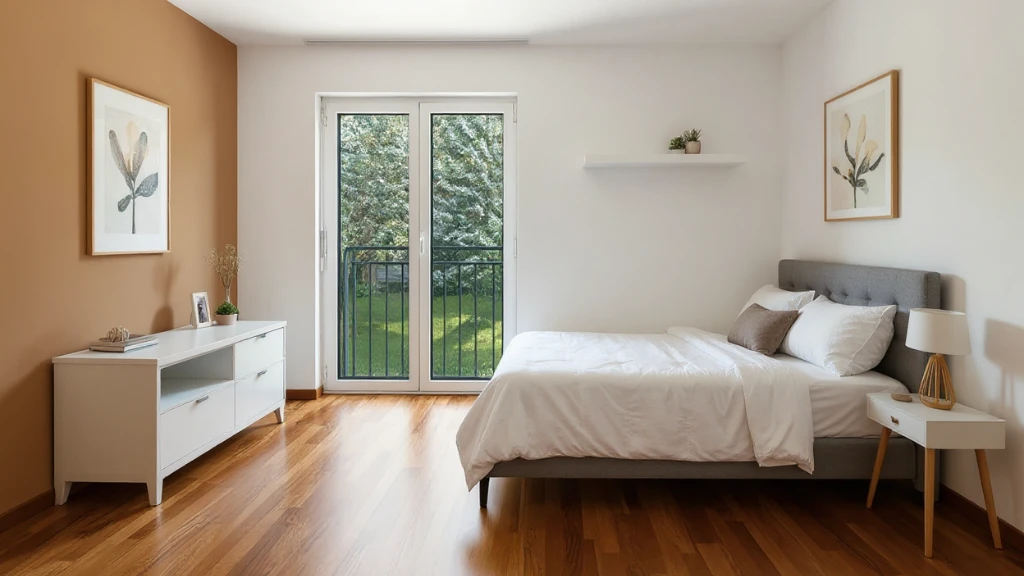
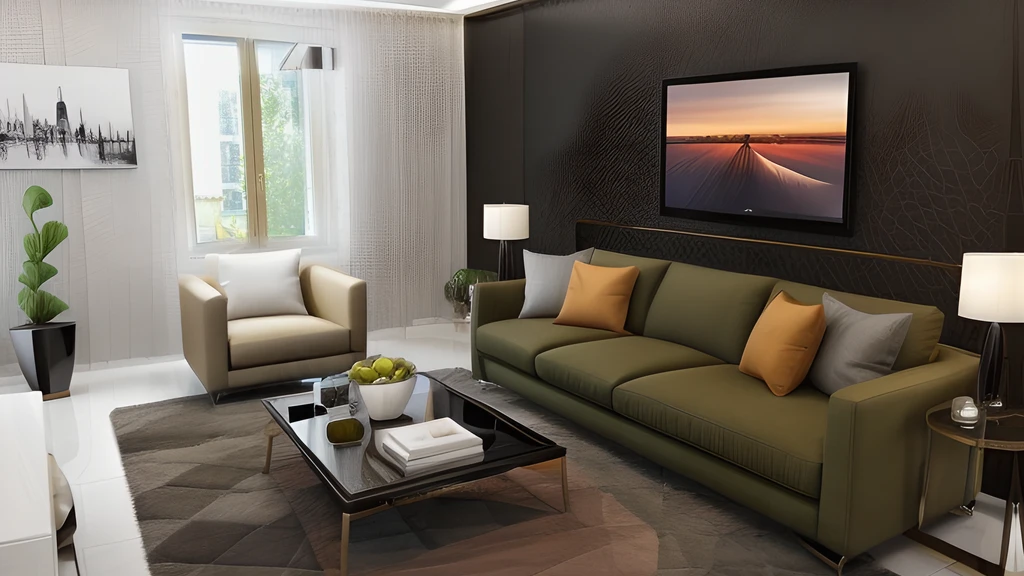
Simply furnished room (made with ai)
Don’t ignore your target market. A luxury condo needs different staging than a family home. Think about who’s most likely to buy the property and stage accordingly.
Don’t use low-quality photos. I already said this, but it bears repeating. Garbage in, garbage out.
Don’t forget to disclose. Seriously, always mention that photos are virtually staged.